Kennel sanitation is not just washing a floor.
It is a step-by-step routine for removing waste, cleaning surfaces, disinfecting safely, drying the kennel, replacing supplies and recording problems.
That may sound simple.
But in a busy shelter, rescue kennel or boarding facility, small skipped steps can create bigger problems. Feces may be left too long. Urine pads may leak. Bedding may stay damp. A disinfectant may be wiped away too soon. A dog may be returned before the kennel is dry.
Good kennel sanitation procedures make the work repeatable.
They help staff know what to do first, what to do next and when the kennel is ready again.
I like to think of dog kennel sanitation in one plain sentence:
Remove the waste first. Clean the surface. Disinfect correctly. Let it dry. Restock and record.
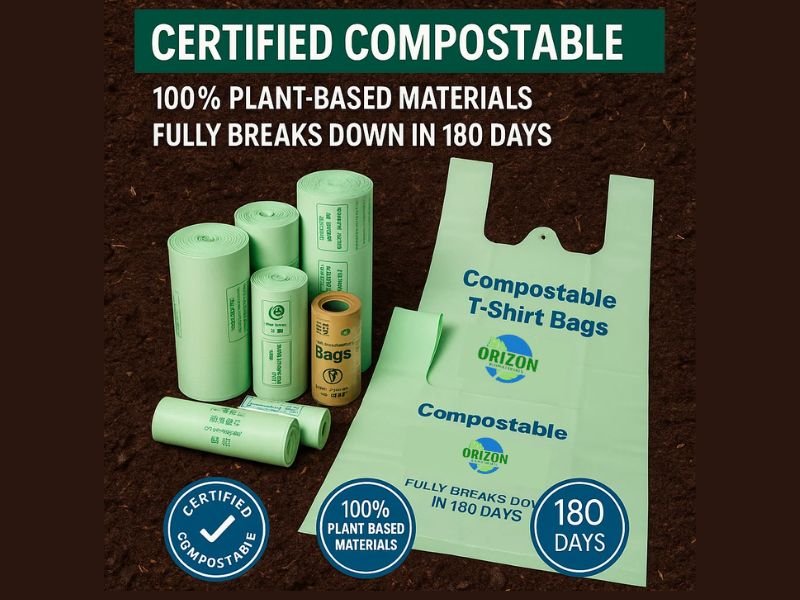
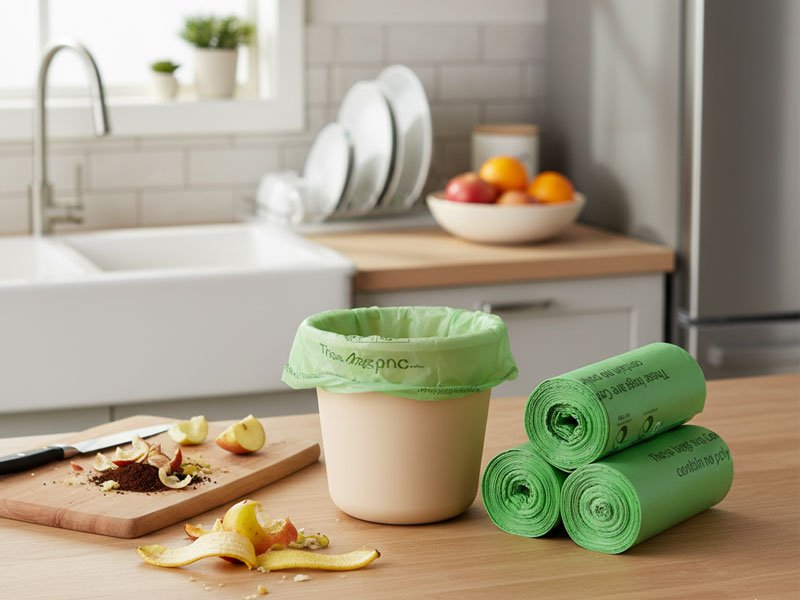
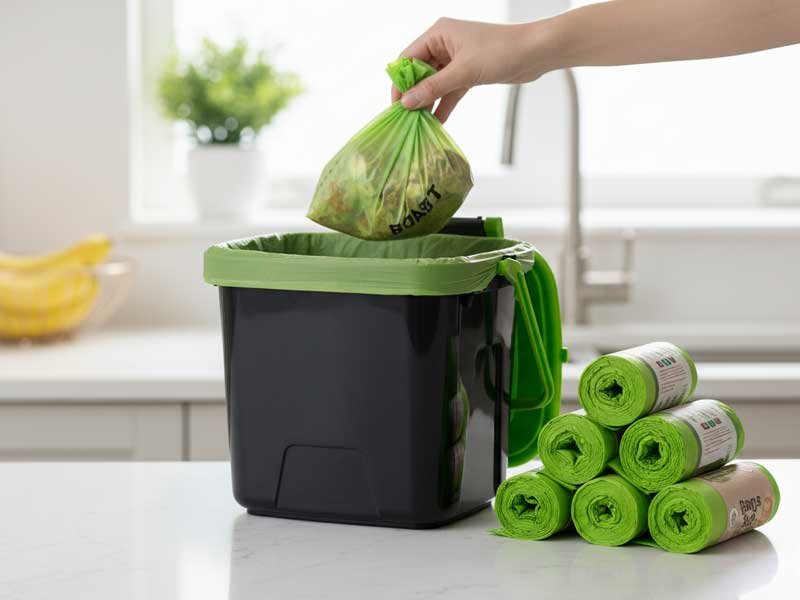
This guide explains practical kennel cleaning procedures for animal shelters, rescue kennels, dog daycare facilities and boarding kennels. It also shows where waste bags, kennel liners, bin liners and soiled bedding bags fit into the daily workflow.
For a wider supply and waste planning overview, visit our Animal Shelter Waste Management Solutions.
What Are Kennel Sanitation Procedures?
Kennel sanitation procedures are the written steps used to clean and prepare a kennel for safe daily use.
A good kennel cleaning protocol should include:
- animal movement;
- waste removal;
- surface cleaning;
- disinfecting;
- drying;
- bedding replacement;
- waste bag replacement;
- supply restocking;
- and cleaning records.
The goal is not to make a perfect-looking room.
The goal is to keep the kennel clean, dry, organized and ready for the next dog.
A kennel sanitation process should answer these questions:
- Where does the dog go during cleaning?
- Where do feces and used pads go?
- Which surfaces must be washed?
- Which disinfectant is used?
- How long must it stay wet?
- When can the dog return?
- Who records the completed task?
- Who reports leaks, damage or supply shortages?
If the procedure does not answer those questions, staff may fill the gaps in different ways.
That is when the process becomes inconsistent.
Cleaning, Sanitizing and Disinfecting Are Not the Same
These words are often used together.
They do not mean the same thing.
Cleaning removes visible dirt, soil, hair, food residue and other unwanted material from a surface. Disinfecting uses chemicals to destroy or inactivate many microorganisms on hard surfaces. Disinfecting is not the same as sterilizing, which is a higher-level process used for more demanding medical or laboratory needs.
| Term | Meaning in kennel work |
|---|---|
| Cleaning | Removes visible waste, soil, hair, food and organic matter |
| Sanitizing | Reduces some microbes to a safer level |
| Disinfecting | Uses a chemical product to kill or inactivate many microbes on surfaces |
| Sterilizing | A higher-level process, not a normal kennel floor-cleaning task |
For kennel work, the basic order is:
Clean first. Disinfect second.
A disinfectant should not be treated as a shortcut around waste removal.
If feces, urine, hair, bedding fibers and food are still on the surface, the kennel has not been properly prepared for disinfection.
Why Waste Removal Comes First
Waste removal is the first real step in kennel sanitation.
Before washing or disinfecting, remove:
- feces;
- urine pads;
- wet liners;
- food waste;
- vomit;
- hair clumps;
- soiled bedding;
- used gloves;
- paper towels;
- and broken toys or debris.
This matters because visible waste and organic matter make the cleaning job harder.
A disinfectant is not a magic spray.
The surface must be cleaned before it can be disinfected properly. Cleaning first removes dirt and debris so disinfecting products can work on the surface itself.
In practical terms:
- Pick up solid waste before spraying.
- Bag used pads before washing the floor.
- Remove bedding before disinfecting the kennel.
- Empty and reline bins before they overflow.
- Move dirty items out through the dirty route, not through clean storage.
This is where kennel waste disposal connects directly to sanitation.
If waste is not removed well, the rest of the process starts badly.
Standard Kennel Sanitation Procedure
The exact procedure should follow your facility’s veterinary guidance, disinfectant label and local rules.
Still, most animal shelter kennel cleaning routines follow a similar order.
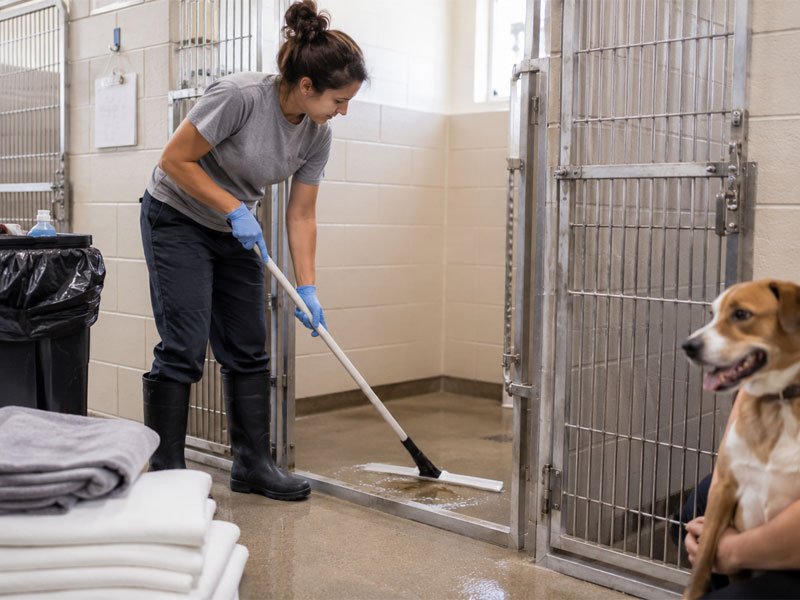
1. Move the dog safely
Do not clean around the dog unless your facility protocol says the task is safe and suitable.
Move the dog to a clean holding area, exercise yard or alternate kennel.
This helps reduce:
- stress from water and spray;
- chemical exposure;
- slipping;
- door escape risk;
- and staff injury.
The dog should not return until the kennel is clean, safe and dry.
2. Remove bowls, toys and loose items
Take out:
- food bowls;
- water bowls;
- toys;
- chews;
- blankets;
- mats;
- and loose bedding.
Handle washable items through the laundry or dishwashing route.
Throw away items that are broken, heavily soiled or not safe to reuse.
Do not place dirty items on a clean cart.
3. Remove feces and solid waste
Pick up solid waste before using water.
Use the assigned dog waste bags, scoop bags or waste bin.
Tie the bag before moving it.
Do not leave filled bags sitting inside the kennel row.
This is a small step, but it matters.
A tied bag controls mess better than an open scoop bucket.
4. Remove urine pads, liners and wet bedding
Used pads and wet liners should be removed before washing.
For wet waste, use leak-resistant disposal bags or a lined collection bin.
If bedding is washable, place it in the dirty laundry route.
If bedding is disposable, place it in the assigned waste bag.
Keep dirty bedding away from clean shelves.
5. Pre-clean visible soil
Remove any remaining visible soil from:
- floor corners;
- door tracks;
- lower walls;
- drain covers;
- bowl holders;
- kennel gates;
- and raised beds.
A scraper, brush or paper towel may be needed.
Do not rely on a hose to push waste into the drain.
Drains also need cleaning.
6. Wash surfaces
Use the approved detergent or cleaner for the facility.
Wash the surfaces that the dog touches, including:
- floors;
- lower walls;
- doors;
- gates;
- latches;
- raised platforms;
- bowl holders;
- and drain areas.
The aim is to remove soil, film and residue.
A clean-looking kennel may still have residue in corners.
Corners deserve attention.
7. Rinse if needed
Some cleaners must be rinsed before disinfectant is applied.
Follow the product label and the shelter’s protocol.
Do not mix chemicals unless the label and your safety procedure allow it.
Many disinfectants and cleaning chemicals can be harmful if used incorrectly, and some should not be mixed with other products.
8. Apply disinfectant
Apply the facility-approved disinfectant to the required surfaces.
Use the correct dilution if the product requires mixing.
Use the correct application method.
Do not guess.
The label matters.
9. Wait for the required contact time
Contact time means the time the disinfectant must stay wet on the surface to work as intended.
Some people also call this dwell time.
If the product is wiped off too soon, it may not have enough time to work. Cleaning sources often stress that disinfectants should be used according to label directions and allowed to remain on the surface for the required dwell or contact time.
A simple staff reminder helps:
Wet time counts. Dry spray does not.
10. Rinse if the label requires it
Some surfaces or products may require rinsing after contact time.
This is especially important when animals may touch the surface with paws, skin, nose or tongue.
Follow the label.
Follow your veterinary protocol.
11. Dry the kennel
Drying is not optional.
A wet kennel can create:
- slip risk;
- damp bedding;
- stronger odor;
- chemical residue concern;
- cold or uncomfortable resting areas;
- and faster re-soiling.
Use a squeegee, drying time, airflow or the facility’s approved drying method.
The dog should return to a dry kennel.
12. Replace clean bedding and supplies
Once the kennel is clean and dry, replace:
- clean bedding;
- clean bowls;
- clean water;
- approved toys;
- fresh pads if needed;
- and the correct bin liner.
Do not place clean bedding on a damp floor.
13. Record issues
Record problems while they are fresh.
Examples:
- loose latch;
- broken drain cover;
- torn mat;
- bin liner shortage;
- strong odor;
- repeated diarrhea;
- disinfectant stock low;
- bedding shortage;
- water leak;
- or kennel not drying properly.
A cleaning log helps the next shift know what happened.
Daily Cleaning, Spot Cleaning and Deep Cleaning
Not every cleaning task is the same.
A kennel cleaning schedule should separate spot cleaning, daily cleaning, deep cleaning and isolation cleaning.
| Cleaning type | When used | What it includes |
|---|---|---|
| Spot cleaning | When the kennel becomes soiled | Remove visible waste, replace pads, clean the soiled area |
| Daily cleaning | Routine kennel reset | Remove waste, wash, disinfect, dry, restock |
| Deep cleaning | Scheduled by facility | Walls, drains, corners, doors, tools, carts |
| Isolation cleaning | High-risk or separated areas | Dedicated tools and veterinary-guided protocol |
Spot cleaning
Spot cleaning is for small messes during the day.
It may include:
- removing feces;
- replacing a wet pad;
- wiping a small soiled area;
- changing a bin liner;
- or replacing damp bedding.
Spot cleaning should not replace the full daily kennel cleaning procedure.
Daily cleaning
Daily cleaning resets the kennel.
This is where the full dog kennel cleaning checklist should be followed.
The dog is moved, waste is removed, surfaces are washed, disinfectant contact time is met, the kennel dries and clean supplies are replaced.
Deep cleaning
Deep cleaning reaches areas that are easy to miss.
These may include:
- wall seams;
- drain covers;
- kennel gates;
- hinges;
- latches;
- raised bed frames;
- cart wheels;
- cleaning tools;
- and storage corners.
Deep cleaning frequency depends on the facility and animal population.
Isolation cleaning
Isolation kennel cleaning should follow veterinary and facility protocol.
Use separate tools where required.
Use labeled bags or liners where required.
Do not carry isolation waste through clean areas without a defined route.
Kennel Waste Handling During Cleaning
This is where many sanitation procedures become weak.
The team may know how to spray and scrub.
But where does the waste go?
A good kennel waste handling plan should define:
- where feces bags go;
- how urine pads are bagged;
- how soiled bedding moves;
- which bin liner fits each bin;
- when cleaning cart liners are changed;
- how isolation waste is labeled;
- and who restocks bags at the end of the shift.
For broader shelter waste planning, see our animal shelter waste bags.
Feces removal
Feces should be collected before washing.
Use assigned waste bags or scoop bags.
Tie bags before transport.
Do not rinse feces into floor drains unless the facility protocol allows it.
Pee pad disposal
Used pee pads can be wet and heavy.
A weak bag can leak before reaching the bin.
Use bags or liners that can handle wet waste.
Soiled bedding
Soiled bedding needs its own route.
Washable bedding should go to laundry.
Disposable bedding should go to waste.
Do not mix the two.
Cleaning cart waste
A cleaning cart may collect mixed waste during a shift.
Line the cart or collection bin correctly.
A torn cart liner can turn one kennel mess into a hallway mess.
Isolation waste
Isolation or quarantine areas may need labeled bags, separate bins or separate tools.
Follow the facility protocol.
Do not treat isolation waste as normal kennel trash unless your protocol says so.
Supplies Needed for Kennel Sanitation
A kennel sanitation procedure is only useful when supplies are available.
Running out of liners during a morning shift slows everything down.
Use this table as a starting point.
| Task | Supply needed |
|---|---|
| Feces removal | Dog waste bags or scoop bags |
| Pee pad removal | Leak-resistant disposal bags |
| Bedding removal | Soiled bedding bags |
| Kennel bin setup | Correct-size bin liners |
| Cleaning cart | Cart liners |
| Isolation area | Labeled or color-coded liners |
| Staff protection | Gloves and PPE required by facility |
| Surface cleaning | Detergent, brush, scraper, hose or cloth |
| Floor drying | Squeegee, mop or airflow |
| Record keeping | Cleaning log or checklist |
For dog cleanup and kennel waste tasks, review our dog waste bags for shelters .
Choose bags by the task
Do not choose every bag by price alone.
Ask what the bag must do.
- Does it hold dry feces?
- Does it hold wet pads?
- Does it carry used litter?
- Does it line a large bin?
- Does it move dirty bedding?
- Does it need to be labeled?
- Does it need to fit a cleaning cart?
A bag that works for light dog walking waste may not work for wet pads or heavy bedding.
Test with real use.
Prevent Cross-Contamination
Cross-contamination means moving germs, waste or dirty material from one place to another.
In kennel work, it can happen through:
- hands;
- gloves;
- boots;
- carts;
- brushes;
- bedding;
- bowls;
- drain splash;
- waste bags;
- and shared tools.
A clean-to-dirty workflow helps reduce this risk.
Clean-to-dirty means staff move from cleaner areas to dirtier areas, not the other way around.
Practical steps include:
- clean healthy animal areas before isolation areas, if your protocol says so;
- use separate tools for high-risk areas;
- change gloves when moving between zones;
- keep clean bedding away from waste carts;
- do not drag dirty bedding through clean storage;
- empty waste bins before overflow;
- and label tools by area.
A simple color system can help.
For example:
- blue tools for general kennels;
- red tools for isolation;
- green tools for outdoor runs.
The exact system matters less than consistency.
Contact Time Matters
Contact time is one of the most missed steps in kennel disinfection.
It is the time the disinfectant must stay wet on the surface.
If the surface dries too fast, or if staff wipe it away too soon, the product may not work as intended.
Always follow the label.
A good kennel disinfection protocol should state:
- which disinfectant is used;
- dilution, if needed;
- surfaces treated;
- required contact time;
- whether rinsing is needed;
- and when the animal can return.
Do not write “spray and wipe” if the product needs wet contact time.
That shortcut can train staff to do the wrong thing.
Dry the Kennel Before the Dog Returns
The kennel is not ready just because the disinfectant step is done.
It should be dry enough for safe use.
A wet kennel can be uncomfortable and unsafe.
It can also make clean bedding damp right away.
Check:
- floor dryness;
- corner puddles;
- drain area;
- raised bed legs;
- lower walls;
- and bedding placement.
If the floor is still wet, the kennel is not ready.
A dry kennel is easier to inspect.
It also feels more finished to the next staff member.
Kennel Sanitation Checklist
Use this dog kennel cleaning checklist for routine review.
Adjust it to your facility protocol.
Before cleaning
- Dog moved to safe holding area
- Kennel number checked
- Food and water bowls removed
- Toys removed
- Bedding removed
- Correct bags and liners available
Waste removal
- Feces removed
- Used pee pads removed
- Wet liners removed
- Soiled bedding routed to laundry or waste
- General trash removed
- Waste bags tied before transport
Cleaning
- Visible soil removed
- Floor washed
- Lower walls washed
- Gate and latch cleaned
- Bowl holder cleaned
- Drain area checked
- Corners checked
Disinfection
- Approved disinfectant used
- Correct dilution used if needed
- Required surfaces covered
- Contact time met
- Surface rinsed if label requires
- Chemicals not mixed incorrectly
Drying and reset
- Floor dried
- Puddles removed
- Clean bedding placed
- Clean bowls returned
- Fresh water provided
- Bin liner replaced
- Supplies restocked
Records
- Cleaning time recorded
- Staff initials recorded
- Damage reported
- Odor reported if unusual
- Supply shortage reported
- Dog returned after kennel was ready
Staff Training and Cleaning Logs
A kennel sanitation checklist is also a training tool.
New staff and volunteers should not have to guess the order.
A simple cleaning log may include:
| Record item | Example |
|---|---|
| Date | July 13 |
| Kennel number | K-08 |
| Cleaning type | Daily cleaning |
| Time completed | 9:20 AM |
| Staff initials | AC |
| Waste issue | Loose stool |
| Supply issue | Low bin liners |
| Maintenance issue | Drain slow |
| Supervisor check | Yes / No |
Logs help with shift handover.
They also help managers find patterns.
For example:
- one kennel always smells damp;
- one drain clogs often;
- one area uses twice as many liners;
- one shift runs out of bags;
- one dog soils bedding more often.
A record turns a complaint into something the team can fix.
Common Kennel Sanitation Mistakes
1. Spraying disinfectant over visible waste
Remove waste first.
Spraying over feces, urine or food residue is not a proper kennel sanitation procedure.
2. Not removing organic matter
Hair, bedding fibers and food film can stay in corners.
Check the edges, not just the center of the floor.
3. Wiping disinfectant too soon
Contact time matters.
Follow the label.
4. Returning the dog to a wet kennel
A wet kennel can be slippery and uncomfortable.
Dry before re-entry.
5. Using one tool in every area
Shared tools can spread contamination.
Use area-specific tools where needed.
6. Forgetting floor drains
Drains collect soil and odor.
They should be included in the cleaning schedule.
7. Using weak waste bags
Leaking bags create more work.
Use the right bag or liner for the load.
8. No stock of liners
If liners run out, staff improvise.
Improvising usually costs more time.
9. No cleaning log
Without a log, problems repeat quietly.
10. Mixing isolation waste
Isolation waste should follow the facility’s separate protocol.
Procurement Checklist for Kennel Cleaning Supplies
Before buying kennel cleaning supplies, confirm the real workflow.
Facility details
- How many kennels do you operate?
- How many outdoor runs?
- Do you have isolation kennels?
- Do you use pee pads?
- Do you use washable bedding?
- Do you use cleaning carts?
- Do you have floor drains?
- How many cleaning rounds happen each day?
Waste and liner needs
- What size are the kennel bins?
- What size liners fit them?
- How much waste is wet?
- How much bedding is disposable?
- Do staff collect feces in small bags or cart bins?
- Do isolation areas need labeled liners?
- Do outdoor runs need dog waste bags?
Stock planning
- How many bags are used per day?
- How many liners are used per shift?
- How much reserve stock is needed?
- Where are bags stored?
- Who restocks cleaning carts?
- What happens when supplies run low?
Sample testing
Before approval, test bags and liners with real work:
- wet pads;
- dog feces;
- soiled bedding;
- cleaning cart waste;
- outdoor run waste;
- and bin pull-out weight.
A sample that looks fine on a desk may fail in a kennel.
For bulk supply, custom packaging or larger programs, visit our OEM and bulk compostable bags.
Can Compostable Bags Be Used for Kennel Waste?
Compostable bags can be used for some kennel waste tasks if the bag performance and disposal route support the claim.
But do not start with the claim.
Start with the waste.
Ask:
- Is the waste wet?
- Is it heavy?
- Does it include feces?
- Does it include bedding?
- Will it go to landfill?
- Is there a composting facility that accepts this waste?
- Does the product certification cover the intended use?
- Are local rules clear?
Compostable, recycled-content and conventional bags all need the same practical review:
Can the bag do the job safely and fit the disposal route?
For material claims and certification scope, see our compostable certifications.
FAQ
What are kennel sanitation procedures?
Kennel sanitation procedures are the steps used to remove waste, clean surfaces, disinfect correctly, dry the kennel, replace supplies and record problems before the dog returns.
What is the difference between cleaning and disinfecting a kennel?
Cleaning removes visible soil, waste, hair and organic matter. Disinfecting uses a chemical product to kill or inactivate many microbes on surfaces. In kennel work, cleaning should usually happen before disinfecting.
How often should kennels be cleaned?
Kennels should follow the facility’s cleaning schedule. Visible waste should be removed promptly. Many facilities use daily cleaning plus spot cleaning when kennels become soiled. Isolation areas may need separate veterinary-guided procedures.
Why should waste be removed before disinfecting?
Waste, soil, hair, food and other organic matter can keep surfaces from being properly cleaned and disinfected. Removing waste first gives the cleaning and disinfection steps a better surface to work on.
What is disinfectant contact time?
Disinfectant contact time is the time the surface must stay wet with disinfectant so the product can work as intended. Always follow the product label.
Should dogs stay in kennels during cleaning?
In most routine cleaning procedures, dogs should be moved to a safe holding area before washing or disinfecting. This helps reduce chemical exposure, slipping, stress and escape risk.
What supplies are needed for kennel sanitation?
Common supplies include dog waste bags, bin liners, pee pad disposal bags, soiled bedding bags, gloves, detergent, disinfectant, brushes, scrapers, squeegees, cleaning carts and cleaning logs.
How can shelters prevent cross-contamination during kennel cleaning?
Use clean-to-dirty workflow, area-specific tools, glove changes, labeled bins, separate isolation supplies and clear dirty bedding routes. Do not carry dirty items through clean storage areas.
What should be included in a kennel sanitation checklist?
A kennel sanitation checklist should include animal movement, waste removal, bedding removal, surface cleaning, disinfectant application, contact time, drying, supply replacement, damage reporting and staff initials.
Can compostable bags be used for kennel waste?
Yes, in some cases. The bag must fit the waste type, handling needs and local disposal route. Compostable claims should be checked against product certification and the facility that receives the waste.
Build a Kennel Cleaning System Staff Can Repeat
Good kennel sanitation is not one perfect cleaning session.
It is a routine that staff can repeat every day.
Move the dog safely.
Remove the waste.
Clean the surface.
Disinfect with the right contact time.
Dry the kennel.
Replace clean supplies.
Record problems.
That is the work.
The bags and liners are not the whole procedure, but they support the procedure. When the right waste bags, bin liners and bedding bags are available, staff can move faster and make fewer messy workarounds.
ORIZON supports animal shelter and rescue waste management with dog waste bags, kennel liners, bin liners, soiled bedding bags and bulk supply options.
For the full solution category, visit our Animal Shelter Waste Management Solutions.